For travelers visiting Japan, securing reliable internet access is essential. From looking up travel information to navigating maps and sharing experiences on social media, having internet connectivity enhances the travel experience. Recently, eSIM technology has become a popular solution for staying connected in Japan. With eSIM, you can avoid the hassle of swapping SIM cards or signing up for local mobile plans, making internet access in Japan much smoother. In this article, we’ll dive into the advantages of using eSIM for your trip to Japan, how to set it up, and recommend some of the best eSIM plans available.
The Benefits of Using eSIM in Japan
Using eSIM offers a convenient way to stay connected to the internet during your travels in Japan. It’s easy to purchase a data plan, and in many cases, you can activate the eSIM even before you arrive in Japan.
No Need to Purchase a Local SIM Card
One of the biggest advantages of using eSIM in Japan is that you don’t need to buy a physical SIM card locally. Typically, travelers need to purchase a SIM card at the airport or a local store, which can be time-consuming and requires setup. With eSIM, you can complete the setup online in advance, allowing you to start using the internet as soon as you arrive. This also eliminates the language barrier and setup concerns associated with buying a local SIM card.
With eSIM, you can use the internet immediately upon arrival, making it extremely convenient.
Flexible Data Plan Options
eSIM providers offer flexible data plans that can be tailored to your travel duration and data needs. Many providers allow you to adjust the amount of data based on your estimated usage, which helps you avoid paying for unnecessary data and keeps costs down. If you run out of data, you can easily add more online, so you won’t be left without internet unexpectedly.
Most eSIM providers offer apps or websites where you can add data or change plans quickly, giving you flexibility during your trip.
Internet Access from the Moment You Arrive in Japan
Another advantage of eSIM is that you can access the internet as soon as you arrive in Japan. By setting up your eSIM beforehand, you can avoid searching for Wi-Fi or swapping SIM cards at the airport. This is especially reassuring for first-time visitors who need to access maps or public transportation information right away.
With internet access immediately available, you can smoothly navigate from the airport to your hotel and look up nearby attractions, enabling smooth and efficient travel from the start of your trip.
Wide Coverage Across Japan
eSIM plans in Japan generally provide wide coverage, not only in major cities but also in rural areas and popular tourist spots. Many eSIM providers partner with major Japanese carriers, allowing you to enjoy stable internet access throughout the country.
While remote areas such as mountains or islands may have limited connectivity, you can expect reliable coverage in most urban and tourist-friendly areas. Before your trip, check the coverage area of your chosen eSIM provider to ensure it matches your travel plans.
How to Use eSIM for Internet Access During Your Trip to Japan
Setting up eSIM is simple: you only need to scan a QR code on your smartphone to complete the installation. Here’s a step-by-step guide on how to get started.
Ensure Your Device Supports eSIM
To use eSIM in Japan, your smartphone must support eSIM technology. Most newer smartphones, including iPhones and some Android devices, are eSIM-compatible, but it’s best to confirm this before your trip. Note that even if your device supports eSIM, some carriers may restrict its use. Be sure to check with your mobile carrier before traveling.
Get a QR Code from an eSIM Provider
Once you choose an eSIM provider and complete the purchase, they’ll send you a QR code. Scanning this QR code with your smartphone enables you to install the eSIM. Many providers offer this code through their website or app.
Before obtaining the QR code, review the data options and select a plan that suits your travel needs. Be prepared so you can install it smoothly when you arrive in Japan.
Scan the QR Code to Install eSIM on Your Device
After receiving the QR code, open your smartphone’s settings, choose “Add Mobile Plan” or a similar option, and scan the QR code to install the eSIM. This process takes only a few minutes, allowing you to complete the setup quickly at the airport or hotel.
For a smooth experience, we recommend installing the eSIM before you depart for Japan.
Check Your Internet Settings
After installing the eSIM, make sure your internet settings are properly configured to connect to the provider’s network. Some eSIM plans may require an Access Point Name (APN) setup. Verify these settings to ensure seamless connectivity throughout your trip.
If you encounter any issues, consult the provider’s support page or customer service for assistance.
Choosing the Right eSIM Plan for Your Trip to Japan
Selecting the right eSIM plan is crucial for staying connected without overspending. Consider your travel duration and estimated data usage to find the most cost-effective option.
Select a Plan Based on Your Travel Duration
eSIM plans vary in length, with options for one day, one week, one month, and more. Shorter trips are best suited for weekly or 10-day plans, while extended stays may benefit from monthly or unlimited data plans. Choose a plan that fits your itinerary to avoid running out of data or overpaying for unused data.
Choose the Right Data Amount
Consider how much data you’ll need during your trip to Japan. If you plan to share photos and videos from tourist sites or frequently use maps, choose a plan with more data. Providers offer various data amounts, so compare options to ensure you have enough for your usage without overspending.
Check Available Speeds
Data speed is an essential factor when selecting an eSIM plan. Slow speeds can make it difficult to load maps or watch videos smoothly. Many eSIM providers offer “4G LTE” or “5G” options for fast connectivity. However, some plans may come with speed limits.
For real-time navigation or uploading high-quality photos, consider a 4G or higher plan. If you only need basic internet for messaging, a lower-speed plan may suffice.
Check for Local Support Options
Internet issues can arise during your stay in Japan. Choosing an eSIM provider with reliable local support is helpful if you encounter connectivity problems. Some providers offer customer service in multiple languages, including English, which can be reassuring during a trip.
For example, providers like Airalo and Ubigi offer comprehensive support for Japan, making it easy to get help if needed.
Frequently Asked Questions About Using eSIM in Japan
Here are some common questions about using eSIM in Japan, covering topics from purchase options to usage tips.
Can I Buy eSIM at the Airport in Japan?
Yes, you can buy eSIM at major Japanese airports. However, purchasing it online before your trip is more convenient, allowing you to start using the internet immediately upon arrival. By obtaining the QR code in advance, you can skip waiting at the airport.
What Happens to My Phone Number with eSIM?
Most eSIM plans are for data only and do not provide a phone number. If you need to make calls, consider using a VoIP app or a separate SIM card for calls. Using a VoIP app is a practical option for voice calls if you require a phone number.
Can I Add More Data or Change My Plan?
Many eSIM providers allow you to add data or switch plans through their app or website. This is convenient for long trips or high data usage. Check the provider’s policies on data top-ups and plan changes before your trip.
Are There Any Areas in Japan Where eSIM Might Not Work?
Yes, some remote areas in Japan, such as mountainous regions or islands, may have limited connectivity. Coverage varies by provider, so check if the areas you’ll visit are covered by your chosen eSIM provider.
Popular eSIM Providers for Travelers in Japan
There are several eSIM providers offering plans for travelers in Japan. Here’s an overview of some popular choices.
Saily

Saily, provided by Nord Security, offers eSIM services in hundreds of countries, including Japan. With data plans ranging from 1GB to 100GB, it’s easy to find an option that fits your travel duration and usage. The app makes setup simple, and they offer 24/7 support, so you’re covered if any issues arise.
Holafly


Holafly offers unlimited data plans for Japan, ideal for heavy data users. With a fixed rate for unlimited data, it’s perfect for those who frequently use social media or watch videos. The easy QR code setup makes it simple to start using right after arrival.
Airalo


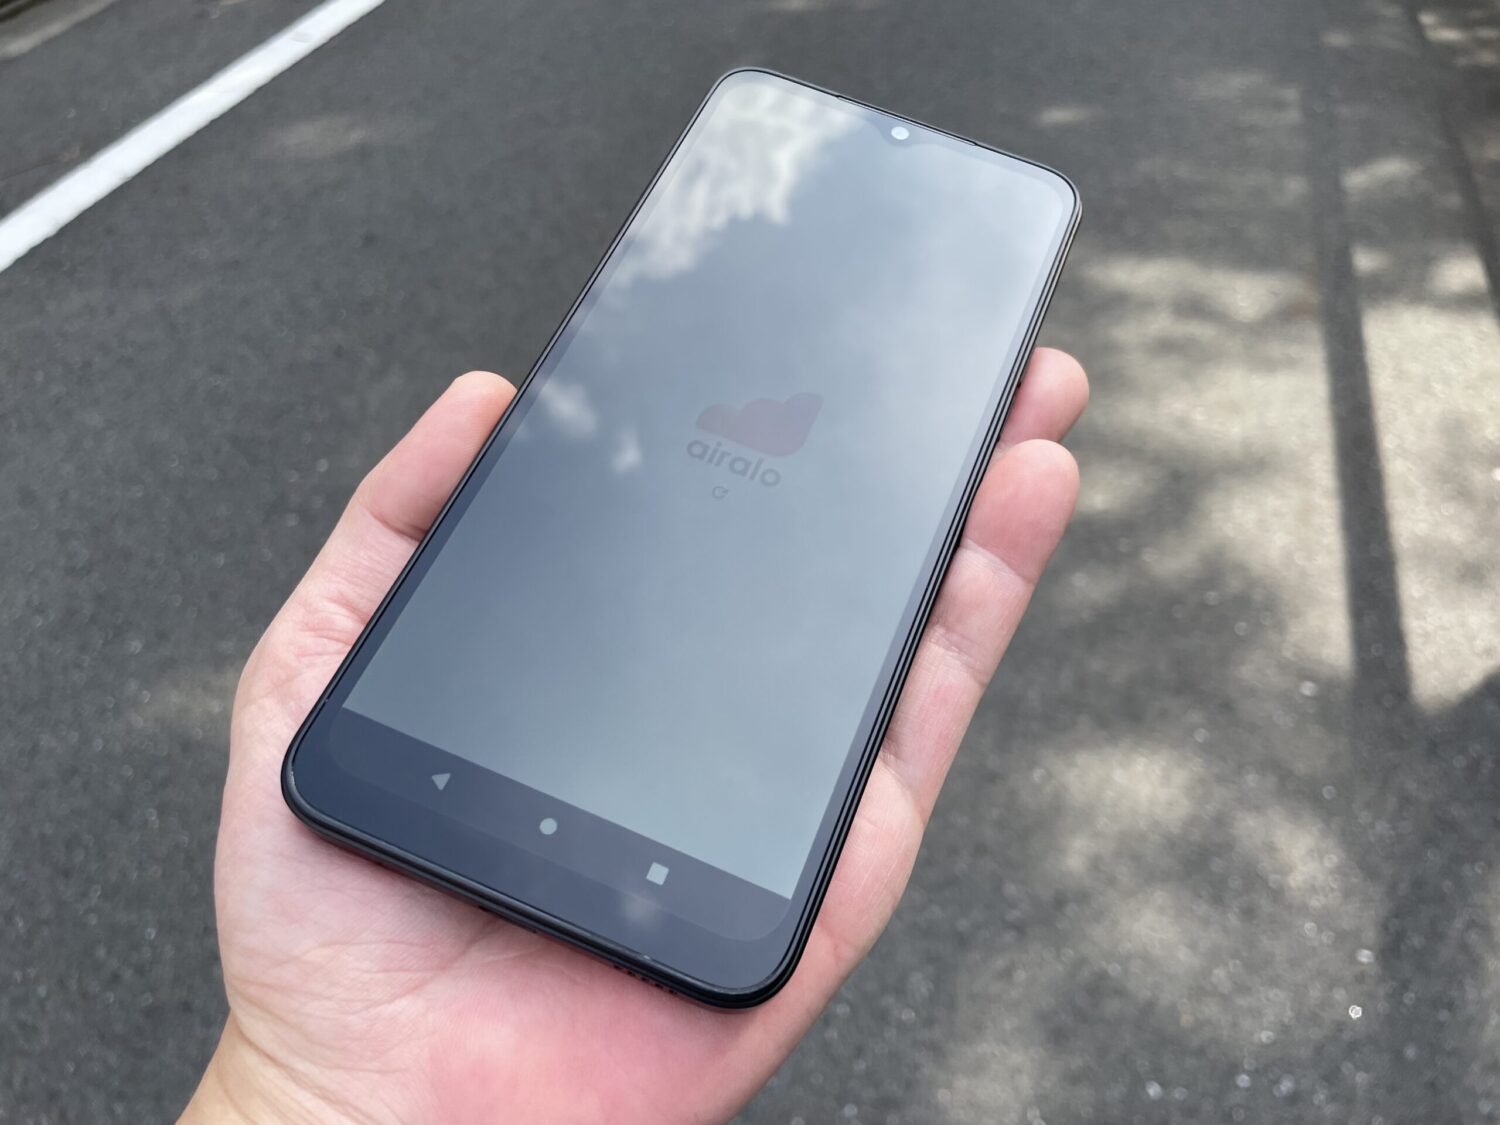
Airalo is a popular choice for international travelers with affordable Japan plans. They offer options for short and long stays, as well as data top-ups through their app. The app’s easy-to-use interface and solid support make Airalo a great choice for beginners.
Ubigi


Ubigi is known for its high-speed data plans, providing fast connections across Japan. Their plans are flexible, and the app allows you to choose the right data amount based on your travel plans. Ubigi is especially popular for its fast connection in urban and tourist areas.


コメント